|
CAC
PROJECT CARS
Here you will find what is the latest I
am working on.
I have started to restore some cars and
in the process use these as testing mules or project test beds.
In the process of the restoration I might go into
details of some of the work to help others other to help restore their
cars as well.
This is something new I have chosen to
create to show or give more detail what is involved in development or even
design of some of the parts in our cars.
Enjoy.
|
AUDI
V8 (P3) (1990 3.6 V8 ) last update:
29 / MAY / 2017 |
|
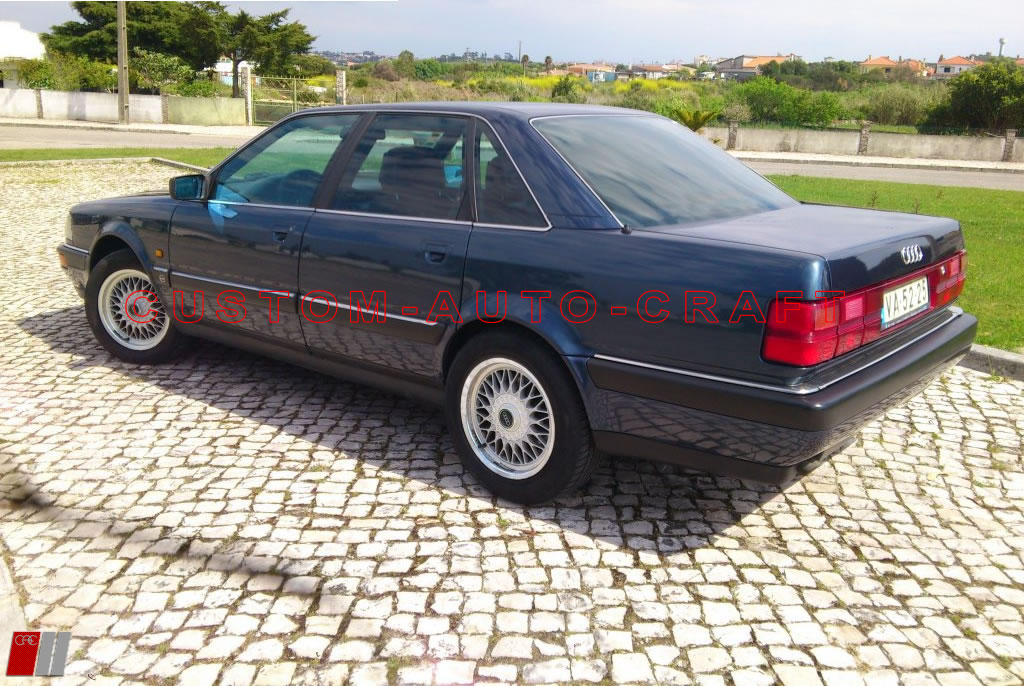
So what we have here
is a lovely 1990 Audi V8 (3.6 with auto transmission).
this is what appears
to be one of only 3 ...there might be more don't know yet..in
Portugal.
The car looks to be
in good shape but several things will be done to turn this car
into beautiful condition.
-
-timing belt
changed
-
-body work
...bad paint job / front bumper with damage rear bumper with
damage.
-
- new CAC
exhaust
-
-remove airbag steering
wheel- replace with sport steering wheel
-
-new CAC front
clear blinkers
-
- replace new
rubber seals on headlights
-
-remove small
dings in doors
-
-small
improvement and updates on interior
-
UFO brakes
changed to HP2 brakes
-
redo all wheels
strip paint and polish rim.
-
rebuild rear
brake calipers...(possible project?)
-
more?
|
|
March
well
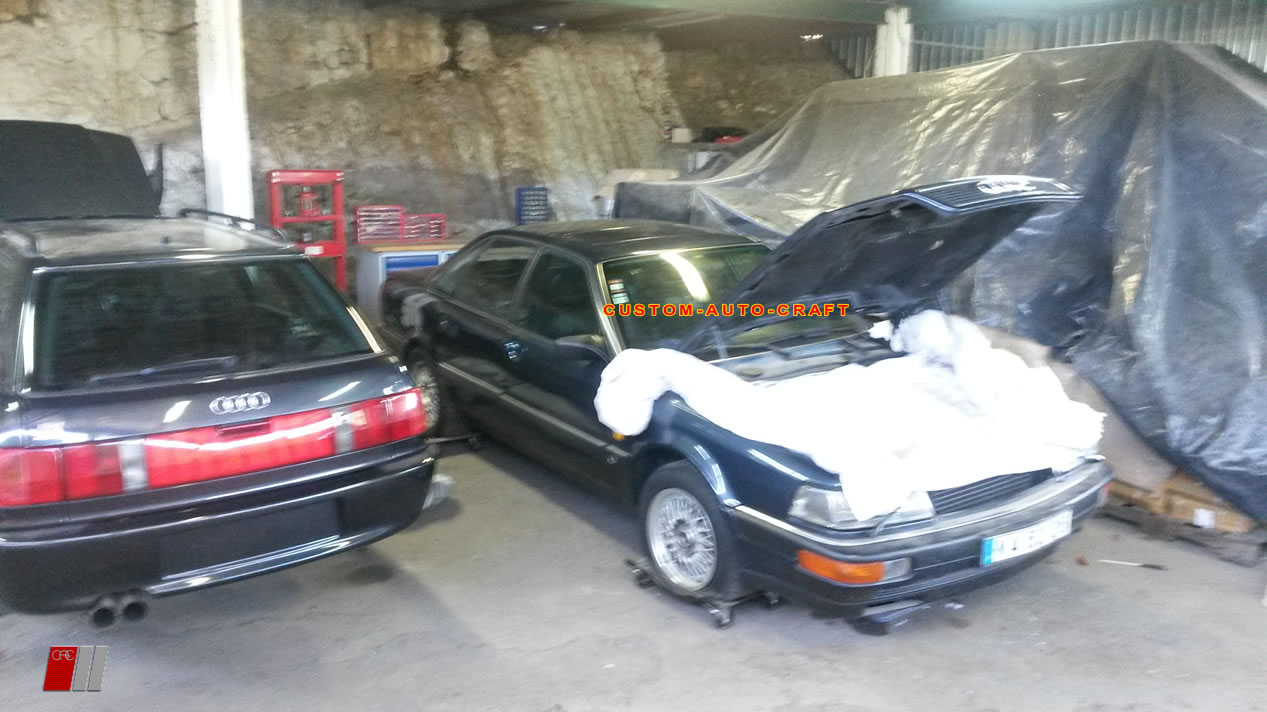
she is in place and ready to work...
Yes,
that is an RS2 on the side...more of that later.
First
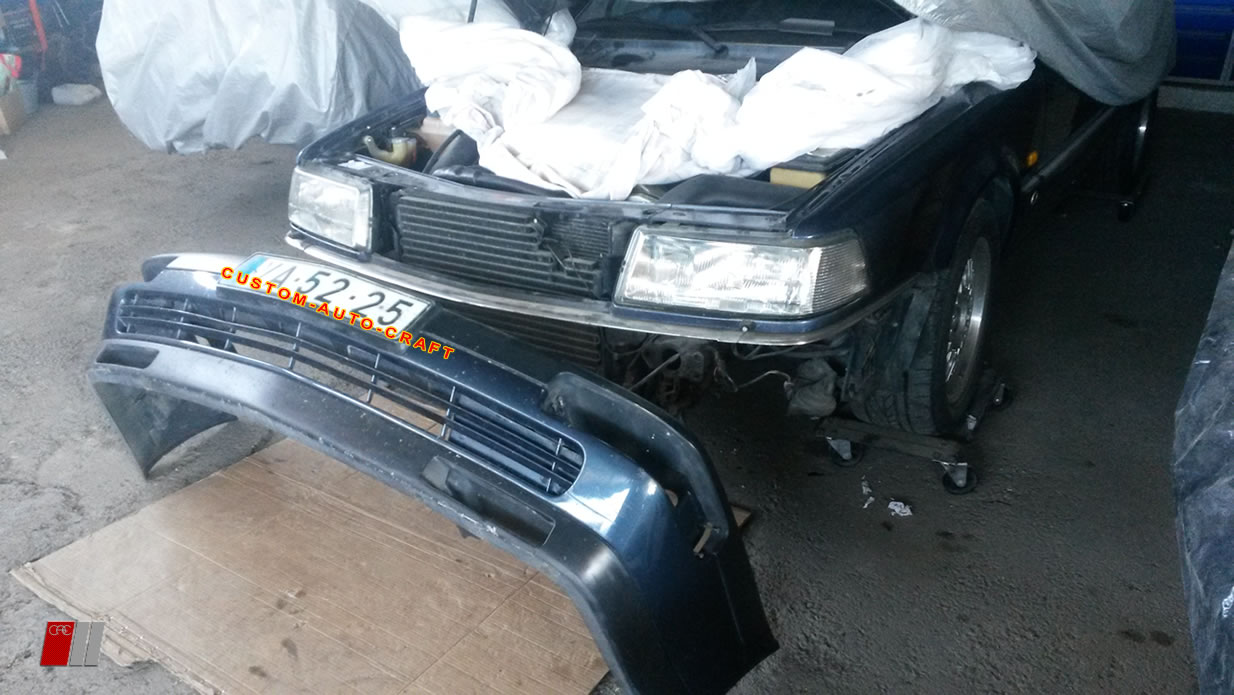
step...remove the front bumper and front end to change the timing
belt
The
bumper will be redone at the same time...stripped fix and
repainted correctly.
|

|
April 2016
while waiting to get
the timing belt done...missing the correct VAG tools to do
this...I restored the 16" BBS wheels.
3 wheels were
actually cracked and had severe damage, all was repaired, paint
removed and new powder coating applied.
|
|
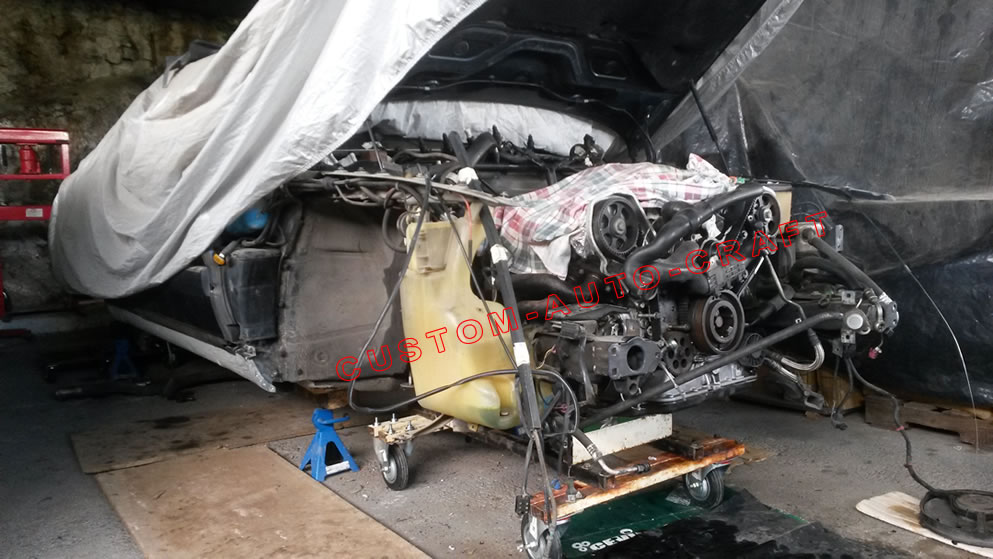
before removing (preparing)
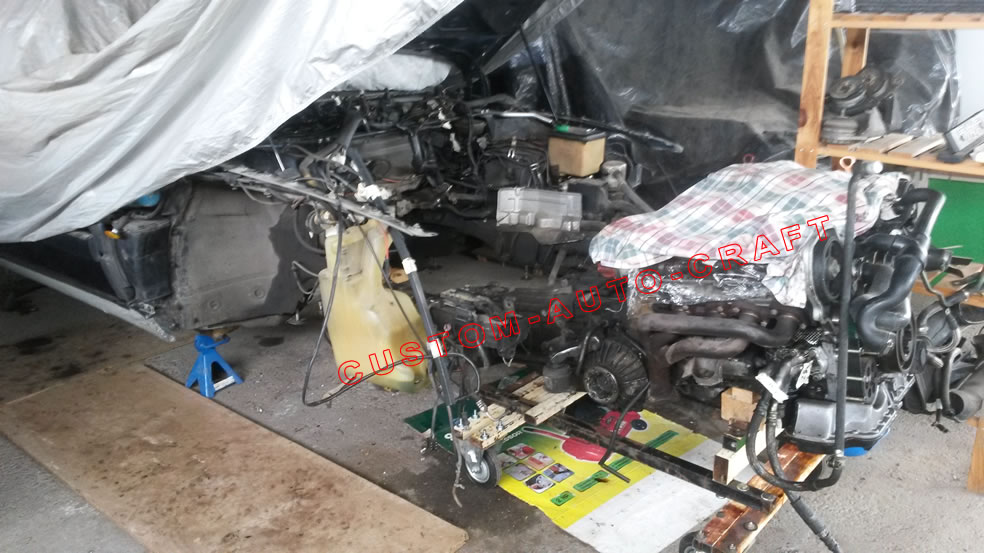
Audi V8 engine removed
|
May 2017
it has been a long time since I
posted any work on the car, it has been going along...a little every month, so
far I have taken apart al the suspension (front and rear, sub-frames, and
started cleaning up the body ( any dents ).
So I got the motor and transmission
and decided...if I am going to do this..I better do it the right way. So I
created a rolling chassis similar to what Audi used to install the engine in
the factory, *this can be seen on U-TUBE (original Audi V8 factory assembly).
as you can see in the pictures, this "cart" made the egine removal allot
more easy..in fact I found it super easy. I have never pulled an engine this
easy!!
The cart building process took
about 1/2 day.
The
whole removal process took about 30 -45 minutes.
IMPORTANT...id doing this
job make sure you tag all the wiring harness connections...its easy ...use
tape with letters or numbers to match ..this will save allot of headaches
later (assembly).
|
|
|
|
Custom Auto Craft
- P-8800 - Monte Agudo-Tavira, Portugal
Tel: (00351) 920 394 510 / E-mail: paul.customautocraft@gmail.com Audi"
and "quattro" are registered trademarks of Audi of America, Inc.,
& Audi AG.
This site is not affiliated with Audi AG, and or
Audi of America. This
website and its contents are © (2002-2014) (2016-2017) Custom Auto Craft
|


